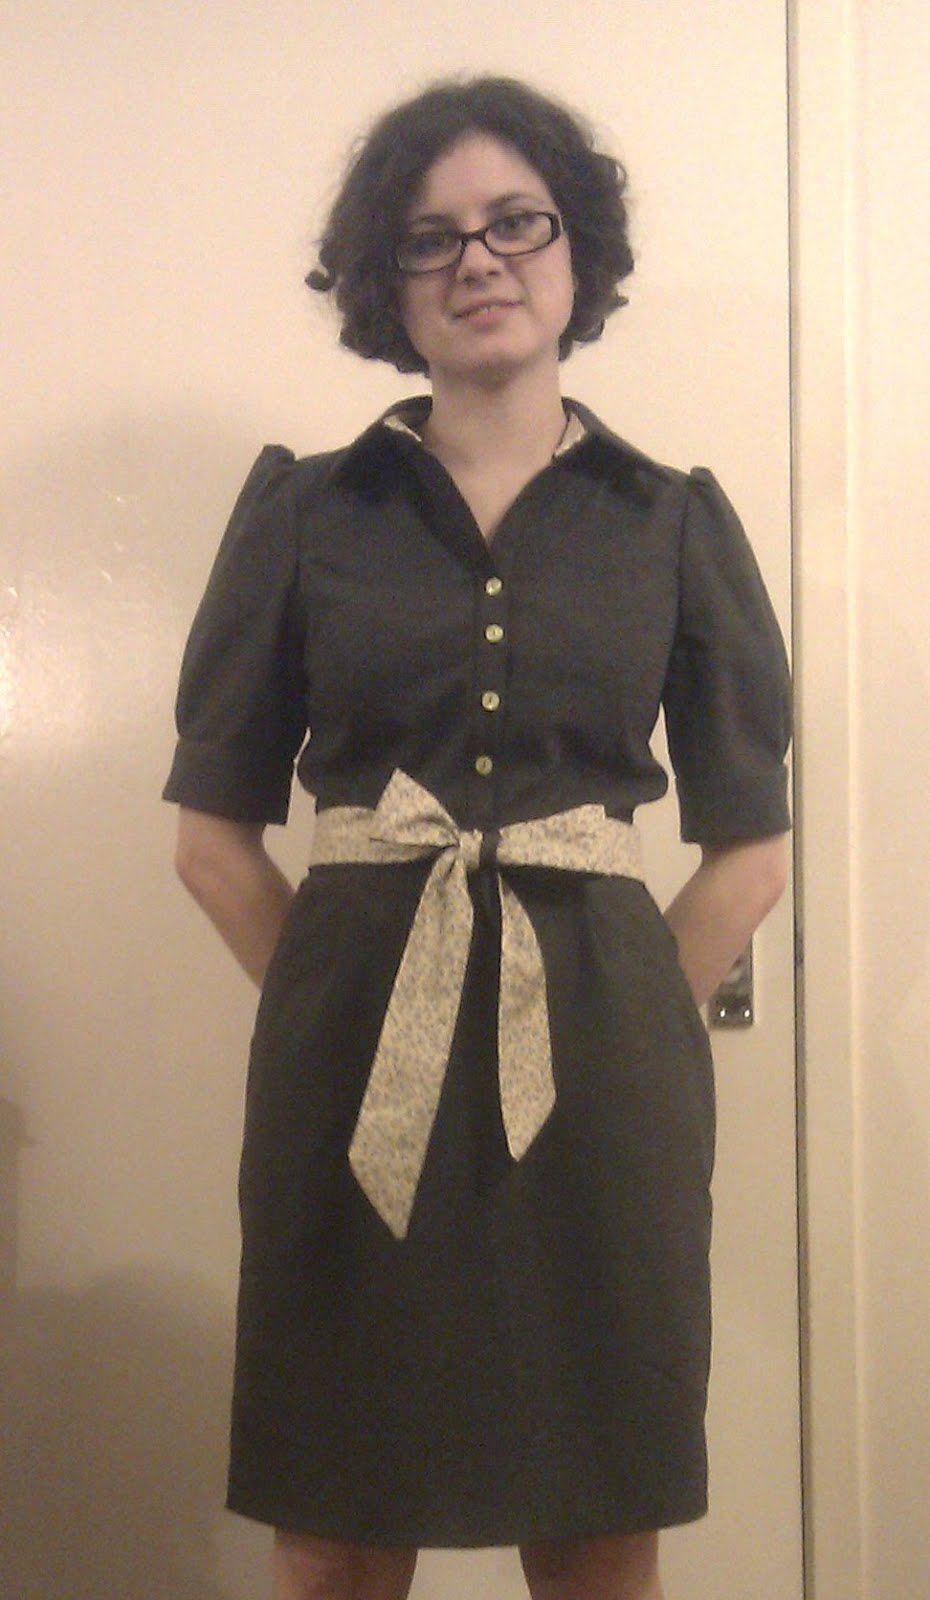
Tuesday, 17 July 2012
Holiday DIY wear
Saturday, 30 June 2012
Dress #5 - poolside dress
After looking through a few, I settled on the style of this Accessorize dress as it looked relatively simple to recreate:
The only suitable fabric I have available is a lightweight cream cotton that I picked up recently intending to use as a lining for dress #4 (the tweed work dress), which in theory should work fine - but it'll be rather dull looking in plain cream (could just end up looking like a muslin!) so I need to prettify it with some sort of embellishment. I have a number of bits of ribbon and lace so I'm currently looking for ideas about what I can do to improve the look of it, maybe by adding some colour.
I'll let you know how I get on!
Thursday, 28 June 2012
Dress #4 - vintage tweed librarian dress?
...and here's the dress view.

I cut out all the pieces and this took some time, as I was really worried about lining up the checks correctly on the seams, as I've never worked with check or a large pattern before, so it was a bit of guesswork. To be honest it hasn't worked out to be a perfect match, but I think it'll look ok. So far, I've already put together the top and from trying it on I'm not particularly happy with the way the cowl neck sits, it just isn't right, I really should have done a muslin - but too late now! I'm just hoping the weight of the skirt will adjust the way it sits. Here is the dress so far, i.e. dress top:

However, after getting this far I realised (a little too late, I think) that I really should have made a lining up at the same time and sewn it in at the neck instead of using the facing, as the fabric is fraying like crazy. Should have seen that coming! So I need to get the pattern out again and cut the dress again, I've been putting it off a bit but I wanted to go and buy some nice light 100% cotton for the lining in this dress, as the usual shiny stuff (NO idea what it's called) made dress #3 a bit 'swishy' like a party dress and I don't want that, plus it's pretty important I don't get too hot and sweaty in this one as it's definitely going to be dry clean only!!
Anyway more progress on this dress really soon, I'm back in the swing and thoroughly enjoying getting on with the project so watch this space...
Wednesday, 27 June 2012
Vintage fair find - sewing stool / box & contents
Here's the sewing box / stool itself, not the most attractive thing I've ever seen, admittedly:

...but I was just overcome with fascination at its contents, there were some vintage items in there and a number of Singer machine feet I just didn't know what on earth were for! So I couldn't resist, and brought it home. Here's the contents of the box, laid out on my table:

Can you believe all this stuff came out of that little stool?! Only one amendment to that, actually - the round wicker basket of cotton reels is mine, and more than half of those were already in there, but I'd already thrown the new ones in there before deciding I should lay all this out, so I just put that out instead of trying to figure out which ones belonged to the collection.
Here are some close-ups of the items, I've asked my mum and grandma for advice about the 'Darning Machine' and the collection of machine feet, as I'm completely clueless! An interesting collection though, I'm very pleased with it!


Tuesday, 26 June 2012
Burda magazine pattern - halterneck holiday top
I didn't want to use any of my patterns as they're nearly all dress patterns and I thought a top or shirt would be a quicker project, so I took out a recent copy of Burda magazine I bought to take on a few days away we had recently. It's the first time I've bought Burda magazine and I was absolutely astounded by what great value for money it was - it contains more than 100 free patterns! I couldn't believe it! I knew I'd be able to find something quick and easy in there.
I really wanted to use an old pillowcase that had been stuck in my stash for ages, I had no other real use for it as it doesn't have a second matching pillow, it was all sad and lonely on its own! Seemed like a perfect fabric for a first attempt at a new (albeit quick and easy) pattern. It was a dark teal colour, with a prominent sequined flower design on the front. Being a pillowcase, obviously I was very limited in fabric width and the pattern had to be appropriate for that. I quickly came across this great drawstring halter neck top/dress, perfect for wearing on holiday in Turkey!


So I set about making up the pattern, and reading the instructions in detail since this was the first time I was making this pattern. It was clear that one pillowcase wasn't quite going to stretch to a dress! So the top it would have to be, fine by me though as it'd be nice to have a new top to wear with my shorts on holiday. Now understandably to save space, Burda have had to put all the patterns on top of each other in different colours, and you have to trace out the one you want to use. Simples! Or NOT - take a look at this example of one part of the pattern:

Horrible, isn't it! The biggest problem is actually finding the piece you want in the first place - after that, not so bad. Anyway, my pillowcase was slightly narrower than the pattern called for, but I thought it'd be fiiiiiiiine and just went ahead anyway :D
I centred the pattern around where the sequin flower was, so that it'd be sat nicely on the bottom hem of the top, and went from there.

...and here's the final product! I really must learn to be more photogenic, if that can be learned - or at least look a bit happier about wearing this! A bit baggy in style, and a bit longer than I would have probably chosen, but it will do very nicely for a slight hint of glamour on holiday, maybe for wear to a restaurant one evening?
Just the facts...
Fabric: one pillowcase, it rings a bell that I picked this up a couple of years ago for 20p at a car boot sale, but I couldn't swear to it!
Pattern: Burda magazine June 2012, view 118A
Year: Contemporary
Notions: 35"ish elastic for the back and sides up to the halterneck(from stash - donated a while ago by my lovely mother); ribbon for the drawstring (from stash - donated in a tin of goodies by my grandma, happened to be a perfect match in colour!)
Time to complete: 2-3 hours, most of which was deciphering and tracing the pattern!
First worn: Other than the photo, for my hols next week!
Wear again? Yes!
Total cost: Basically nothing - unless you include the price of the magazine, and the 20p pillow case!
Monday, 25 June 2012
Dress #3 - Alice in Wonderland?
So first up I'm going to tell you about a project that started almost 4 weeks ago when a new pattern arrived, and which is now almost finished - just the hem to do. I enjoyed using this pattern, as it fit pretty well without much adjustment and it seems to be kind of a 'wardrobe staple' dress pattern according to other blogs, so hopefully I'll use it a few times. The pattern is Simplicity 2444:

I decided for my first attempt (and only my third ever dress, after all!) that I should make the most simple of the designs - view A / the top left in the dress view here:

Also I decided to line this dress, partly because I'd had a bad experience with dress #2 fraying along the seams even though I'd overlocked (but not with an overlocker/serger) the seams, and the insides looked a mess and I didn't want to risk the wear on the seams for this dress.
The blue fabric was already in my stash, having been donated by my grandmother around Christmas time, but I still had to buy the lining fabric and a zip - but not even any thread, as my wonderful grandma had also donated some thread, one particular reel of which was a great match! So this dress probably cost me about £6ish to make.
Here's the result, sorry about the awful pic but you'll be used to that from me by now already!

I like the fit, although there seems to be some small amount of bagginess at the waist to chest area, but not enough to bother me. I really should have done my hair for this pic. Ah well.
As you can probably see, the hem is still only pinned and needs to be finished off, but it's just about there! Really pleased with it, my only concern is that it might be a little bit too Alice in Wonderland...
Just the facts:
Fabric: from (Grandma's!) stash, free
Pattern: Simplicity 2444
Year: contemporary
Notions: invisible zip, lining
Time to complete: not sure, let's just say a month!
First worn: not yet worn out, needs hemming first
Wear again? Yes, maybe even for work; definitely with a white apron and blonde wig for fancy dress parties!
Total cost: about £6ish
Finally I want to thank all the lovely contributors at The Sewing Forum for their help when I've needed it. I would thoroughly recommend signing up whether you're a beginner or an old hand, it's a great community of advice and thoughts on a range of sewing subjects, based in the UK but open to all. Go check it out!
Thursday, 31 May 2012
Return of the hardworking
I've been working about 5 jobs since my last post, so my sewing has gone completely by the wayside, sadly. However I will soon be returning to part time work, so from the start of July hopefully I'll be back on the horse.
While I've been offline, I've been particularly enjoying The Sew Weekly and have only recently come to realise what an inspiration Mena Trott, the founder, actually is. She recently gave a speech about her achievements, well worth a look. I enjoy reading The Sew Weekly so much, I check it every day to see what new creations have cropped up!
In other sewing news, I've picked up a couple of new patterns (vintage ones) and last weekend I went to a vintage fair and picked up a sewing box stool, which was for sale with all of its sewing goodies contents, for a low price. I'll be sharing the contents of this treasure trove, along with those new patterns, very soon.
C
Thursday, 23 February 2012
Shirt Project Update
Here you can see the western-style detail on the chest, I don't know the terminology but it's like a mini yoke on either shoulder. I think these have worked well.
You should be able to see from this picture how there's no collar stand/base. The pattern also included a small button loop that you can see here, this seems to be a bowling shirt feature that wouldn't normally be found on a western shirt, so I'm a bit worried that it's going to look odd with the pearl snaps.
The pockets are ok but I'm annoyed that there's some definite puckering all the way around, I'm really not sure what's caused this so I'll have to do some research on how I could have made this sit more neatly.
I'm particularly pleased with my seams, which you can't see much in these photos, but I used 'Run and Fell Seams', or I've also seen them called 'Flat Felled Seams', across the shoulders, down the sides and round the sleeves. This is basically the flat double-stitched that you see mostly on jeans, as shown in this photo. It makes for very neat seams on both sides and most western shirts use this all the way round. I'll be posting a tutorial very soon on how to achieve this look.
Still to do are:
- the bottom hem
- adding the pearl snaps (I'm aiming to create a tutorial for this)
- adding a flap over each pocket to add to the western style
Monday, 20 February 2012
Shirt dress / lime green moodboard
I really should have done this at the start, as it's quite useful actually, it helps to define what you want from the project. I've started using Pinterest in this way now, like for my Modern Kimono Dress project - more to follow on this in future, at the moment I've created a muslin that was only half-successful and I'll be doing more with it as soon as the shirt's finished (just the hem and snaps to do now!).
Thursday, 16 February 2012
Shirt project
![]() | ![]() |
I was *really* disappointed with the range of patterns available for men's shirts, I didn't feel I had much choice at all. There was just one pattern that had that western-style look, Simplicity 4760 - it's the short sleeved pattern B that I was interested in:
Having bought this pattern, the only appropriate one I could find, I didn't really think about it or look too closely at it until I started putting all the pattern pieces together. Now that I'm more than half way through making the shirt, I realise that this shirt pattern has a plain front, i.e. doesn't include a placket for the front of the shirt (you know, the extra bit of fabric that forms a line down the front edge, where the buttonholes go), which really would have given this shirt a smarter, more finished feel. Quite disappointed by that.
On top of that, I realised that the shirt collar is flat, it doesn't have a base/stand for the main part of the collar to attach to, it just joins right at the neck. Here are a couple of photos from Made To Measure, 'Anatomy of a Shirt by Alexander West', to help you see what I'm on about:
|
Overall it turns out this pattern is really more like a bowling shirt than a 'proper' western shirt and I'm really disappointed. As a project it's come together fairly well, although the sleeves took me quite a while to attach, and there was a small amount of puckering that I haven't yet figured out how to eliminate. Still it's all good practise.
What I'm really excited about though, is the final touch - I'll be using pearl snaps, and I've never used snaps before so I'll need to do my research and hopefully will be posting a tutorial here some time in the next week or so!
I actually had an *incredibly* hard time tracking down authentic western-style pearl snaps to use, I had to import them from America can you believe! Found an excellent seller on Etsy though, Cowgirl Snaps - 24 colours available, really great seller. You should check her out, they really make all the difference if you're looking for an authentic western-style shirt, it's all about the attention to detail. Can't wait to use the left over snaps on a fitted girl shirt for myself!
Photos of this project to follow very soon...
Tuesday, 14 February 2012
Red & pink for Valentine's Day

Ok so the last one's a bit odd but I do like it :)
I have yet to discover where I stand on re-posting people's own photos from their blogs so I'll just give links to the ones I really liked from Everybody Everywear:
- this one from Knocked Up Fabulous, I really think she looks so gorgeous! Smart but cool.
- this one from Marionberry Style, which again is pretty smart workwear that I really love
- I found a few like this one from Rachel Sayumi where they'd gone for a much paler pink with the red, and that seems a lot easier to wear and very pretty. Not quite as striking though perhaps.
I really enjoyed looking through all these, and I definitely have been given the confidence to try this combination! Having said that, you've definitely got to be careful. I sifted through *plenty* of no-no outfits. I wonder what everyone else thinks of these celebs, but I think they could have done better! There were much worse out there, mind! You should go check it out on Google, I just searched 'Red and pink fashion'.
Happy Valentine's Day one and all!
Monday, 13 February 2012
Oh no!
Still, I've been discovering lots of new blogs and getting ideas for here, so that's good. I'd like to check out a new blog every day, as I've found quite a lot but not yet had the chance to sit down and actually read through them all properly. When I've filtered them down to my favourites I'll let you know!
Having said that, it also occurred to me today that I should spend less time online and more time actually sewing! Was too hungover to do anything today - my precious Sunday, wasted! Might do something small for you tonight...
Sunday, 12 February 2012
Mobile cover
It's not dissimilar to mine, and it made me want to have a quick look on Craftsy at other similar projects - the standard is really amazing on some of them! Check out these others that are really individual and a lot of thought has gone into them (links below). Makes me feel kinda bad that mine was just thrown together with whatever I had to hand! Having said that, at the time the immediate need was a very practical one as I simply didn't want to scratch my new phone! I actually lost it (the cover, not the phone!) on a night out not too long after I'd made it, and a year on my phone is covered with scratches. Shameful!
Anyway, here are some particularly impressive and unusual ones:
- Corset style sewn case
- Rainbow tapestry case
- Clever zipped case that can be worn on the arm for jogging etc.
I definitely need to start thinking more creatively about my projects!
Saturday, 11 February 2012
Thursday, 9 February 2012
Damned English weather!
Made it to my dressmaking class tonight, only one more session and I shall thoroughly miss it when it's finished! Where will I turn for advice?! Yet more reason to get involved online. After much trauma managed to get that last buttonhole finished that I'd been putting off, and I'm also working on a cowboy-style shirt for my other half, as well as a kimono-sleeve dress out of some really unusual fabric I was given by my grandma, which I'll be showing you soon! Yes yes, I know I need to work on only one thing at a time otherwise I won't finish anything... just watch this space!
Took some more photos of the dress at class though, but they're not the professional standard I'm looking for, still worth showing here though - took photos with and without the sash. Will post them shortly....
Wednesday, 8 February 2012
Today's musings
Also on my mind is the range of blogs I follow, I’d like to expand my list as I have a core few that I really love reading but I think I need to discover some new ones. I thought I’d make use of my new Twitter account and ask the world. Whatever I discover I’ll share with you in my list of favourite blogs & websites – watch this space...
Tuesday, 7 February 2012
Dress #2 - Shirt Dress UFO?
So, for now at least, I’m only sharing this one with lucky ol’ you, in the Sew Weekly style:
The Facts:
Fabric: from 1st for Fabrics, brown-black polyester-cotton weave, £20ish plus cotton floral contrast fabric £5ish
Pattern: Simplicity Project Runway 2403
Year: 2010
Notions: 12″ zipper (£3, John Lewis), 6 x 0.5” buttons (£2.50, eBay)
Time to complete: about 3 months (not solidly! Maybe 20-25 hours?)
First worn: To work, yesterday!
Wear again? I think so – although the fit is a bit annoying…
Total cost: At a guess, about £30
These are the only photos of the dress I have so far and were hastily taken, so that I could email them to my mum to show her my latest achievement! I’m really sorry about the poor quality! Anyway here's a close-up of the waist without the sash, which I added separately using a purpose-drawn pattern:
Overall I'm pretty pleased with the results of my second ever self-made dress, the waistband and the placket look professional ('placket' is a new dressmaking term I learned meaning the bit where the buttons go!). I'm perhaps a little disappointed with the fit - when I sit down, I do get that annoying puffed-up chest effect which seems to be because there's too much fabric between the neck and the waist. I should have shortened the torso part of the pattern before I made it, but the measurements had seemed ok. For my first ever fully-completed dress though, I think I can be forgiven!
It was pretty funny wearing this to work yesterday, I was really self-conscious but nobody commented, which I think is a good thing! - but I'd totally forgotten about how I'd been waiting to finish the last buttonhole when I took the photos, so I'd just tacked the two sleeve parts together for the photos, and then wore it like that to work and of course the sleeve went 'ping' and opened on the way to work! Nightmare - but thank heavens, I quickly located a needle and thread in a desk drawer and botched it back together. Phew! Anyway it was the first time I've ever worn a self-made dress out in public and it felt just great, I felt pretty proud!
So, after years of resistance, I’ve finally gone and joined Twitter. In the past I just couldn’t see the point of it, I couldn’t think of anyone I would particularly want to follow! But recently I’ve started following lots of different blogs and other websites, and I was starting to struggle to keep up. When I noticed I could follow many of them on Twitter, it just made sense to be able to look at updates from them all in one place. I confess I’m a bit scared, but also hopeful! I’d say ‘it’s the future’, but I think it was probably the future 10 years ago and I’ve just taken a long time to catch up to today!
I’ll be tweeting sewing-related items of interest and eventually, when I’ve got a bit more content going, I’ll tweet whenever I update this blog. Follow me @caroli317
#twitternewbie #wishmeluck
Monday, 6 February 2012
New Year's Resolution 2012
I can definitely recommend doing some online research about sewing space organisation, even if it's only checking out the Sew Weekly forums - I could hardly get inside this room before I made it my new year's resolution, let alone have a clear surface space! I also learned a lot from thesewingforum.com, it's a great source of info about all aspects of sewing.
After doing various bits of online research for ideas on sewing storage, I put a few photos of ideas on my Pinterest New Years Resolutions 2012 board as well.